01
Step
AWS Marketplace
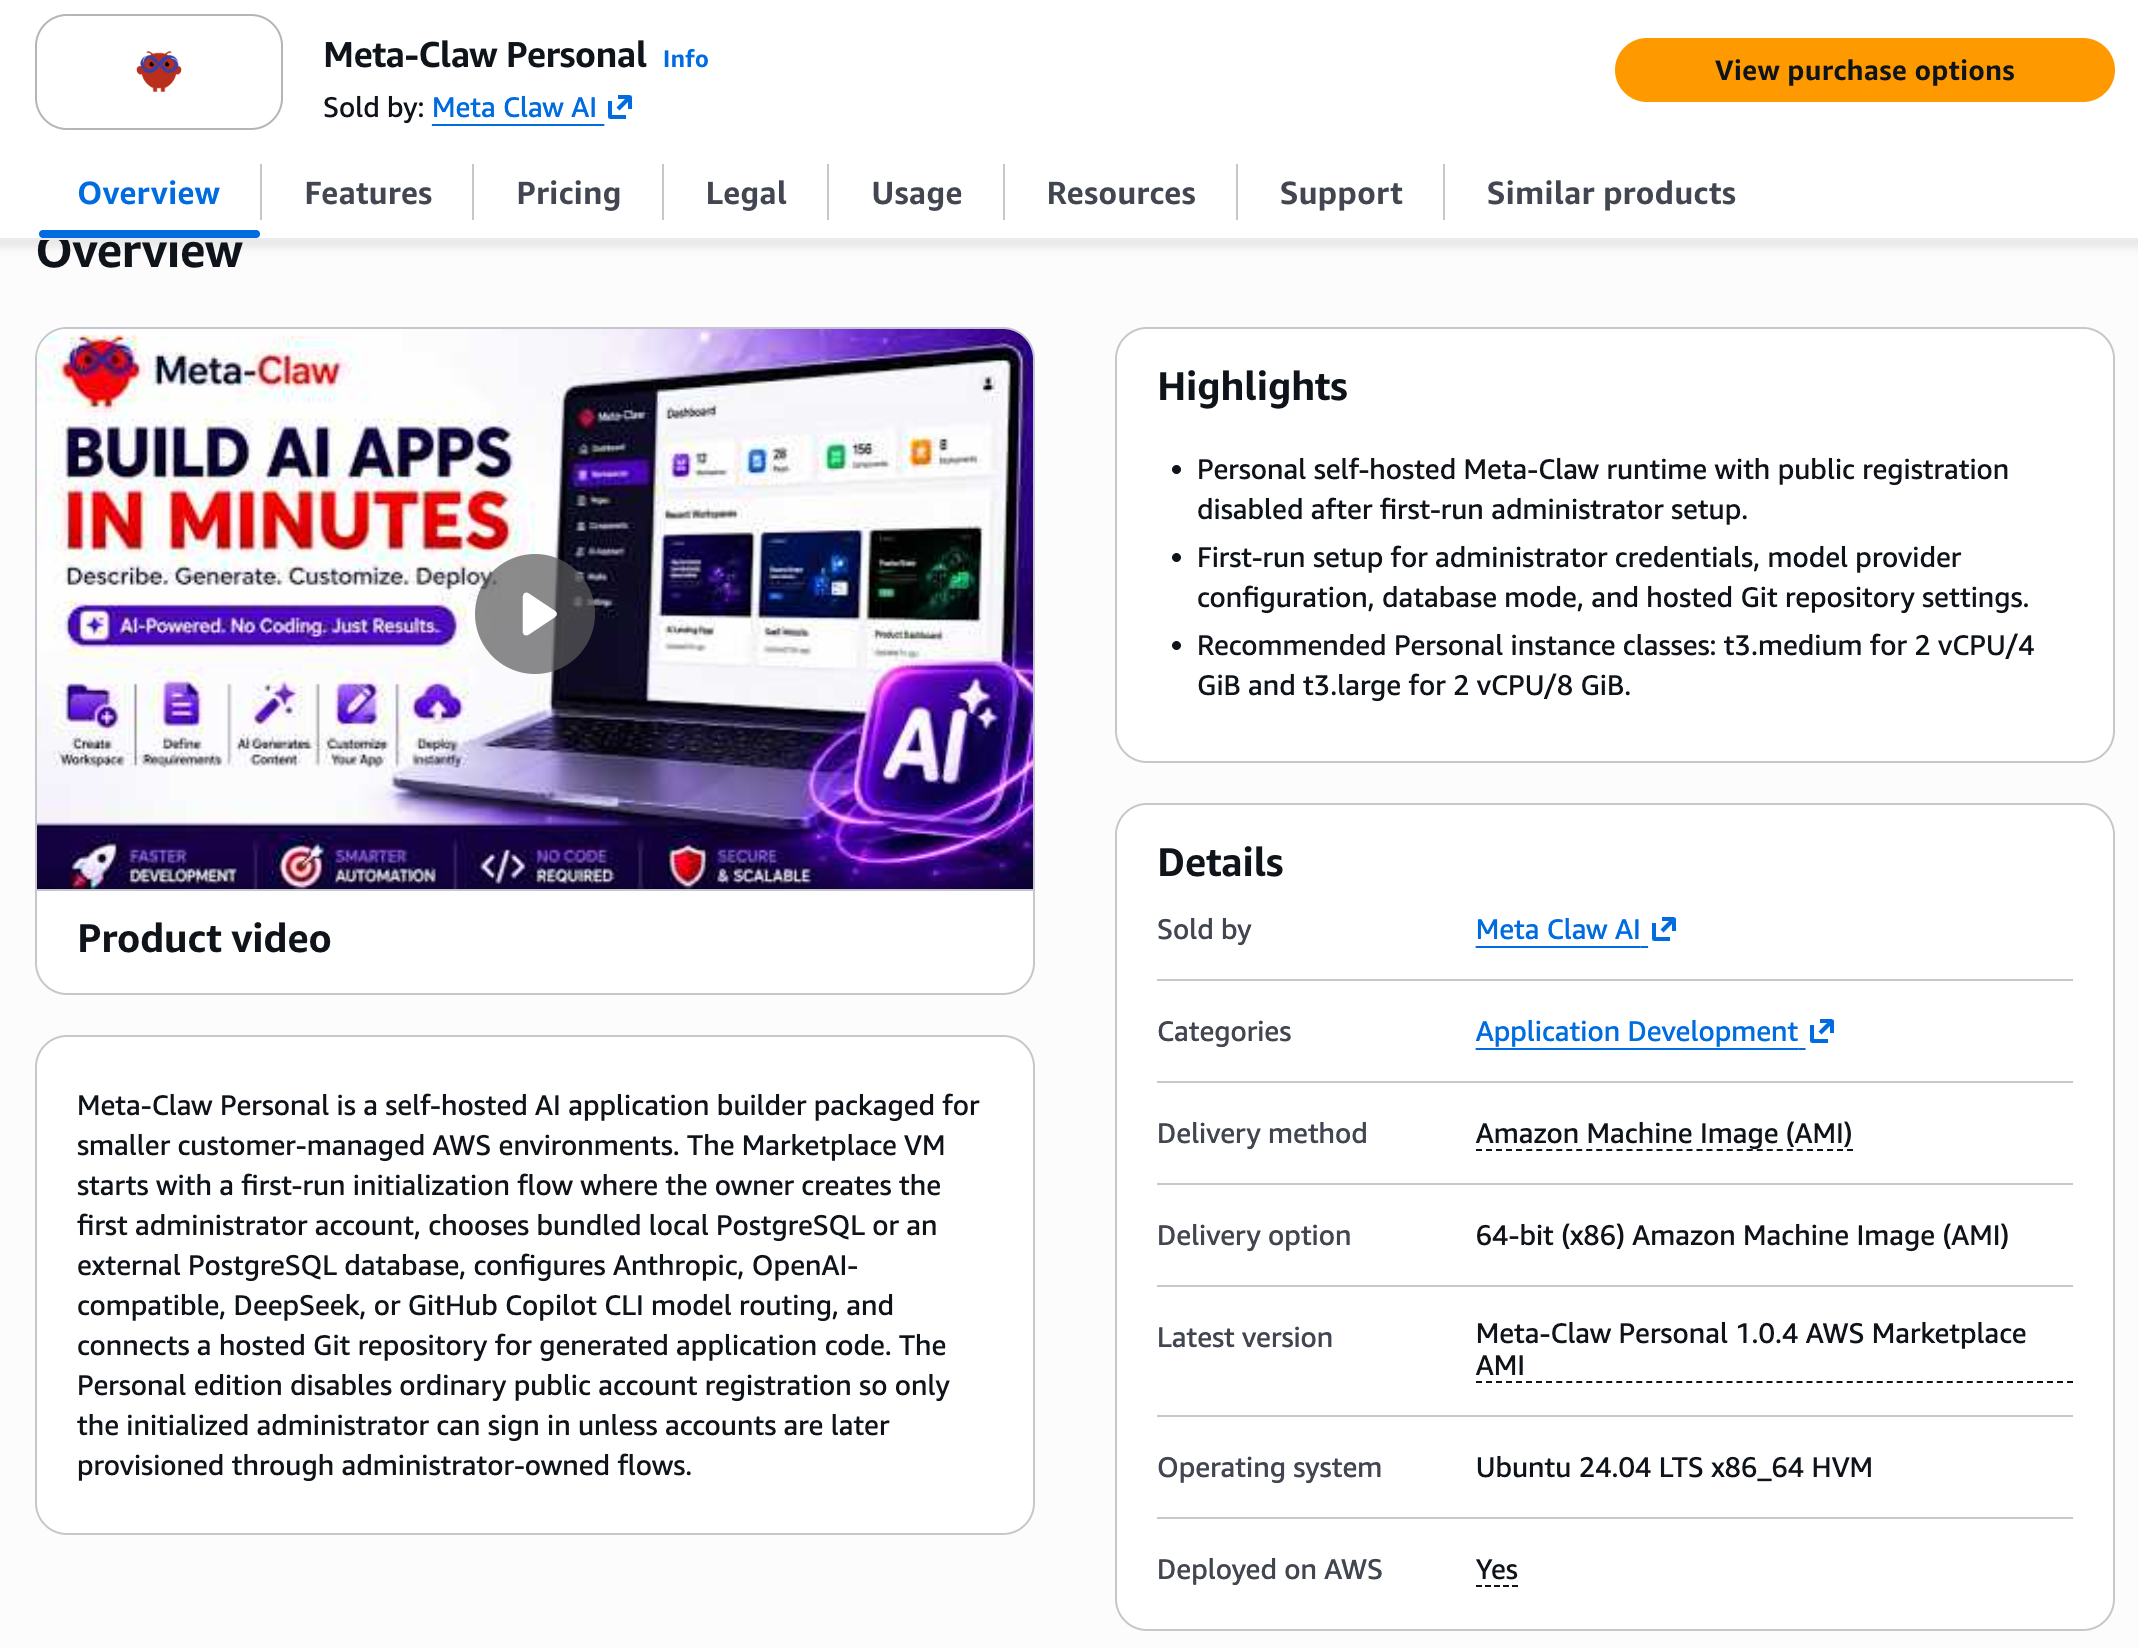
Purchase the Subscription
Choose Meta-Claw Personal, purchase the subscription, and you are ready to launch.
AWS Marketplace
Choose Meta-Claw Personal, purchase the subscription, and you are ready to launch.
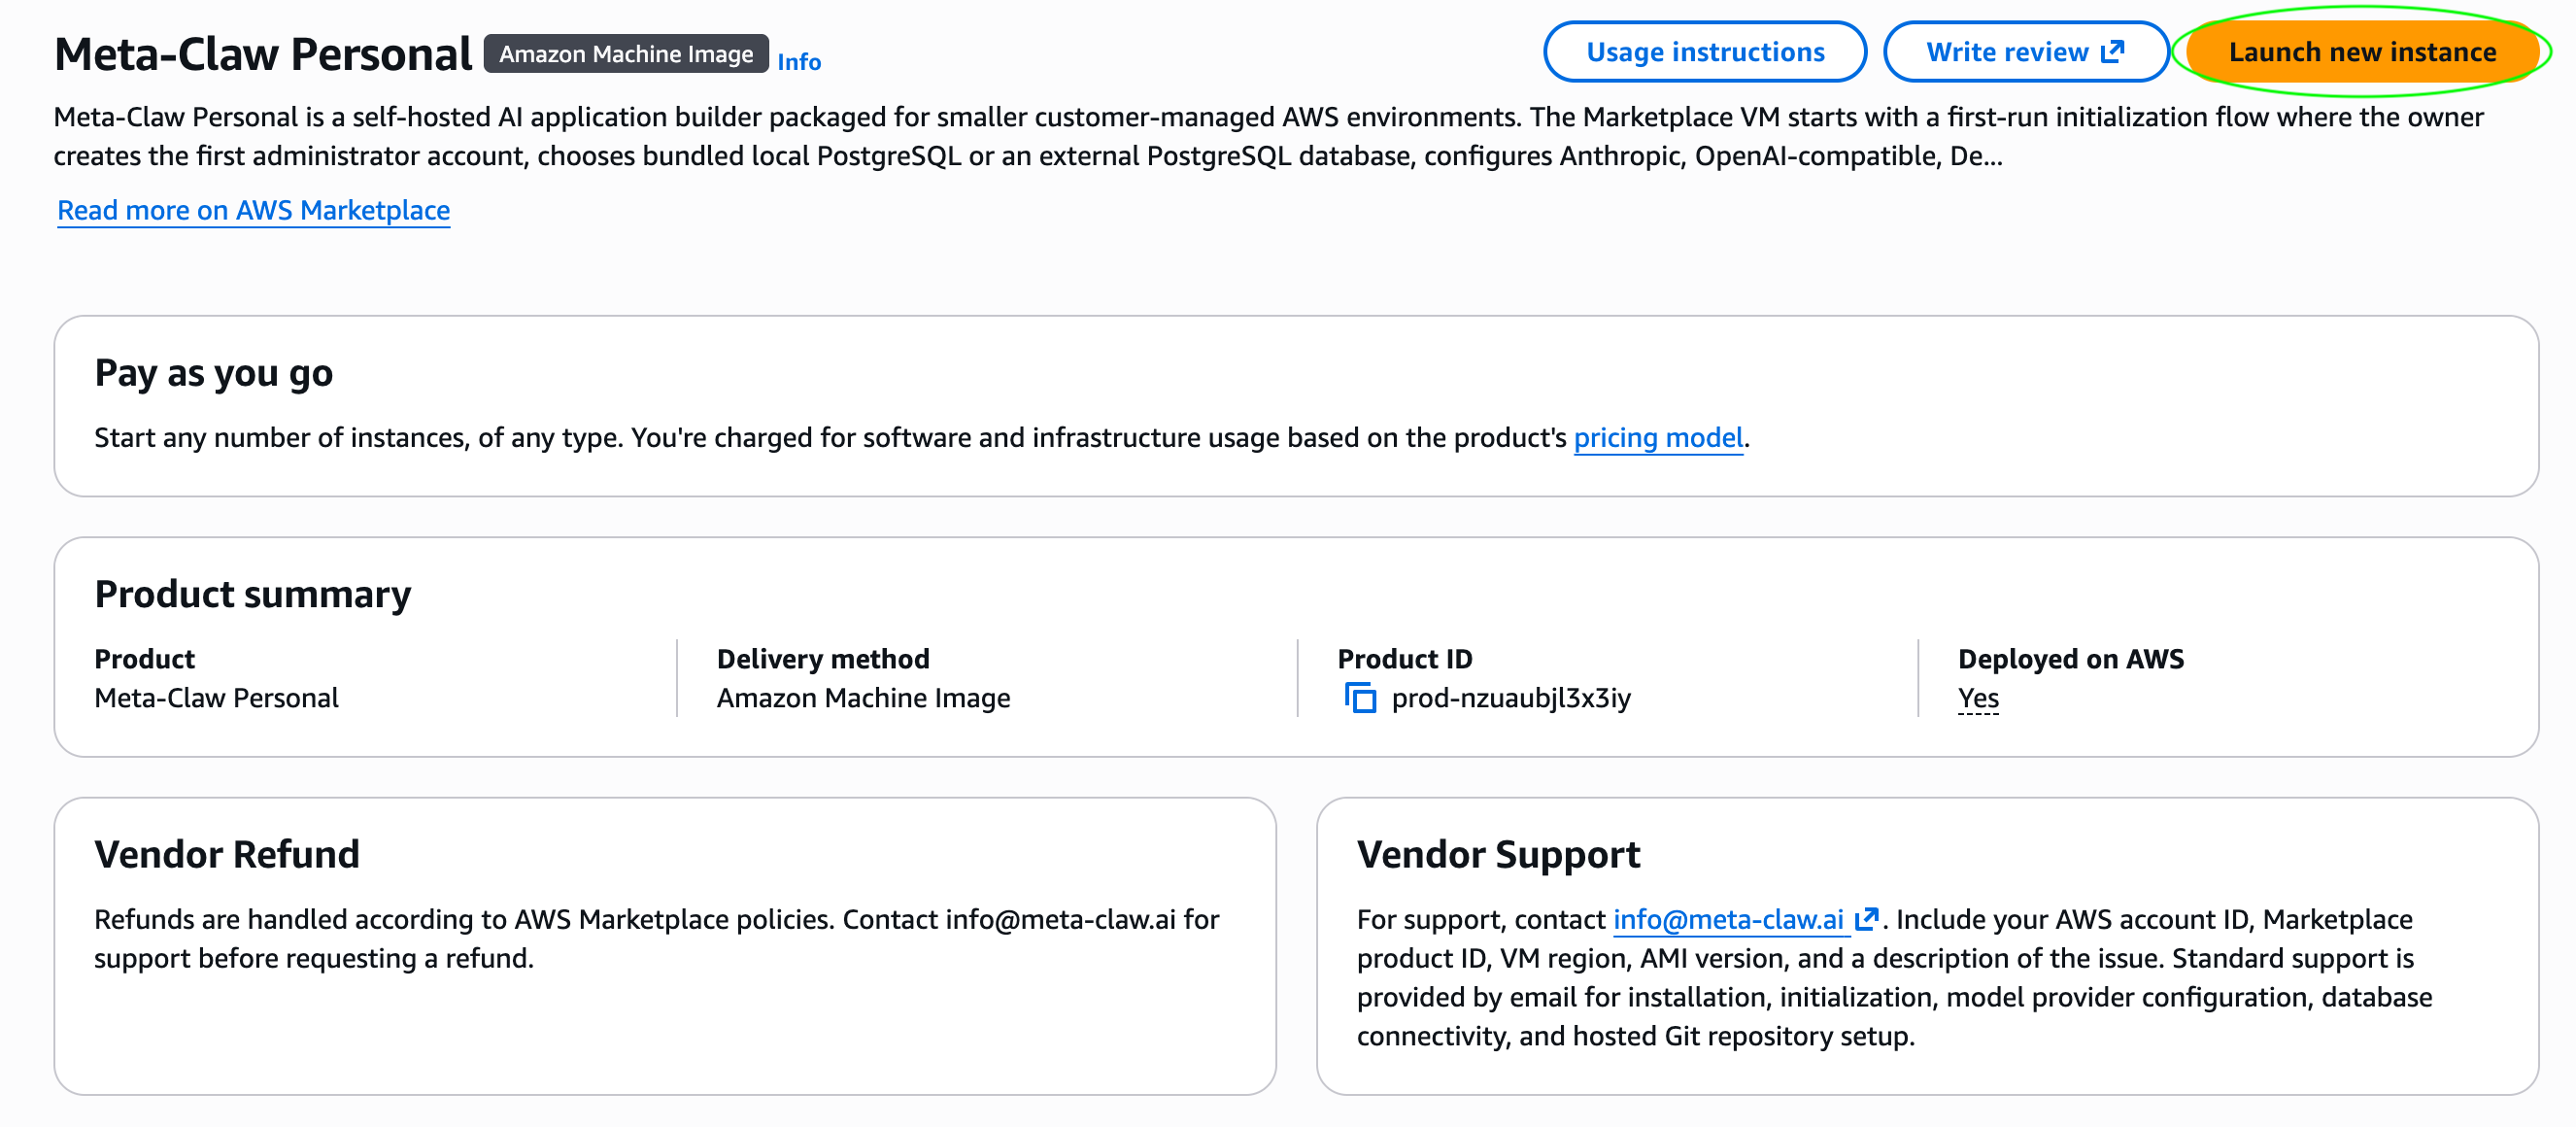
Purchased Subscriptions
Click "Launch new instance" at the top right corner, when you see / manage the purchased subscriptions.
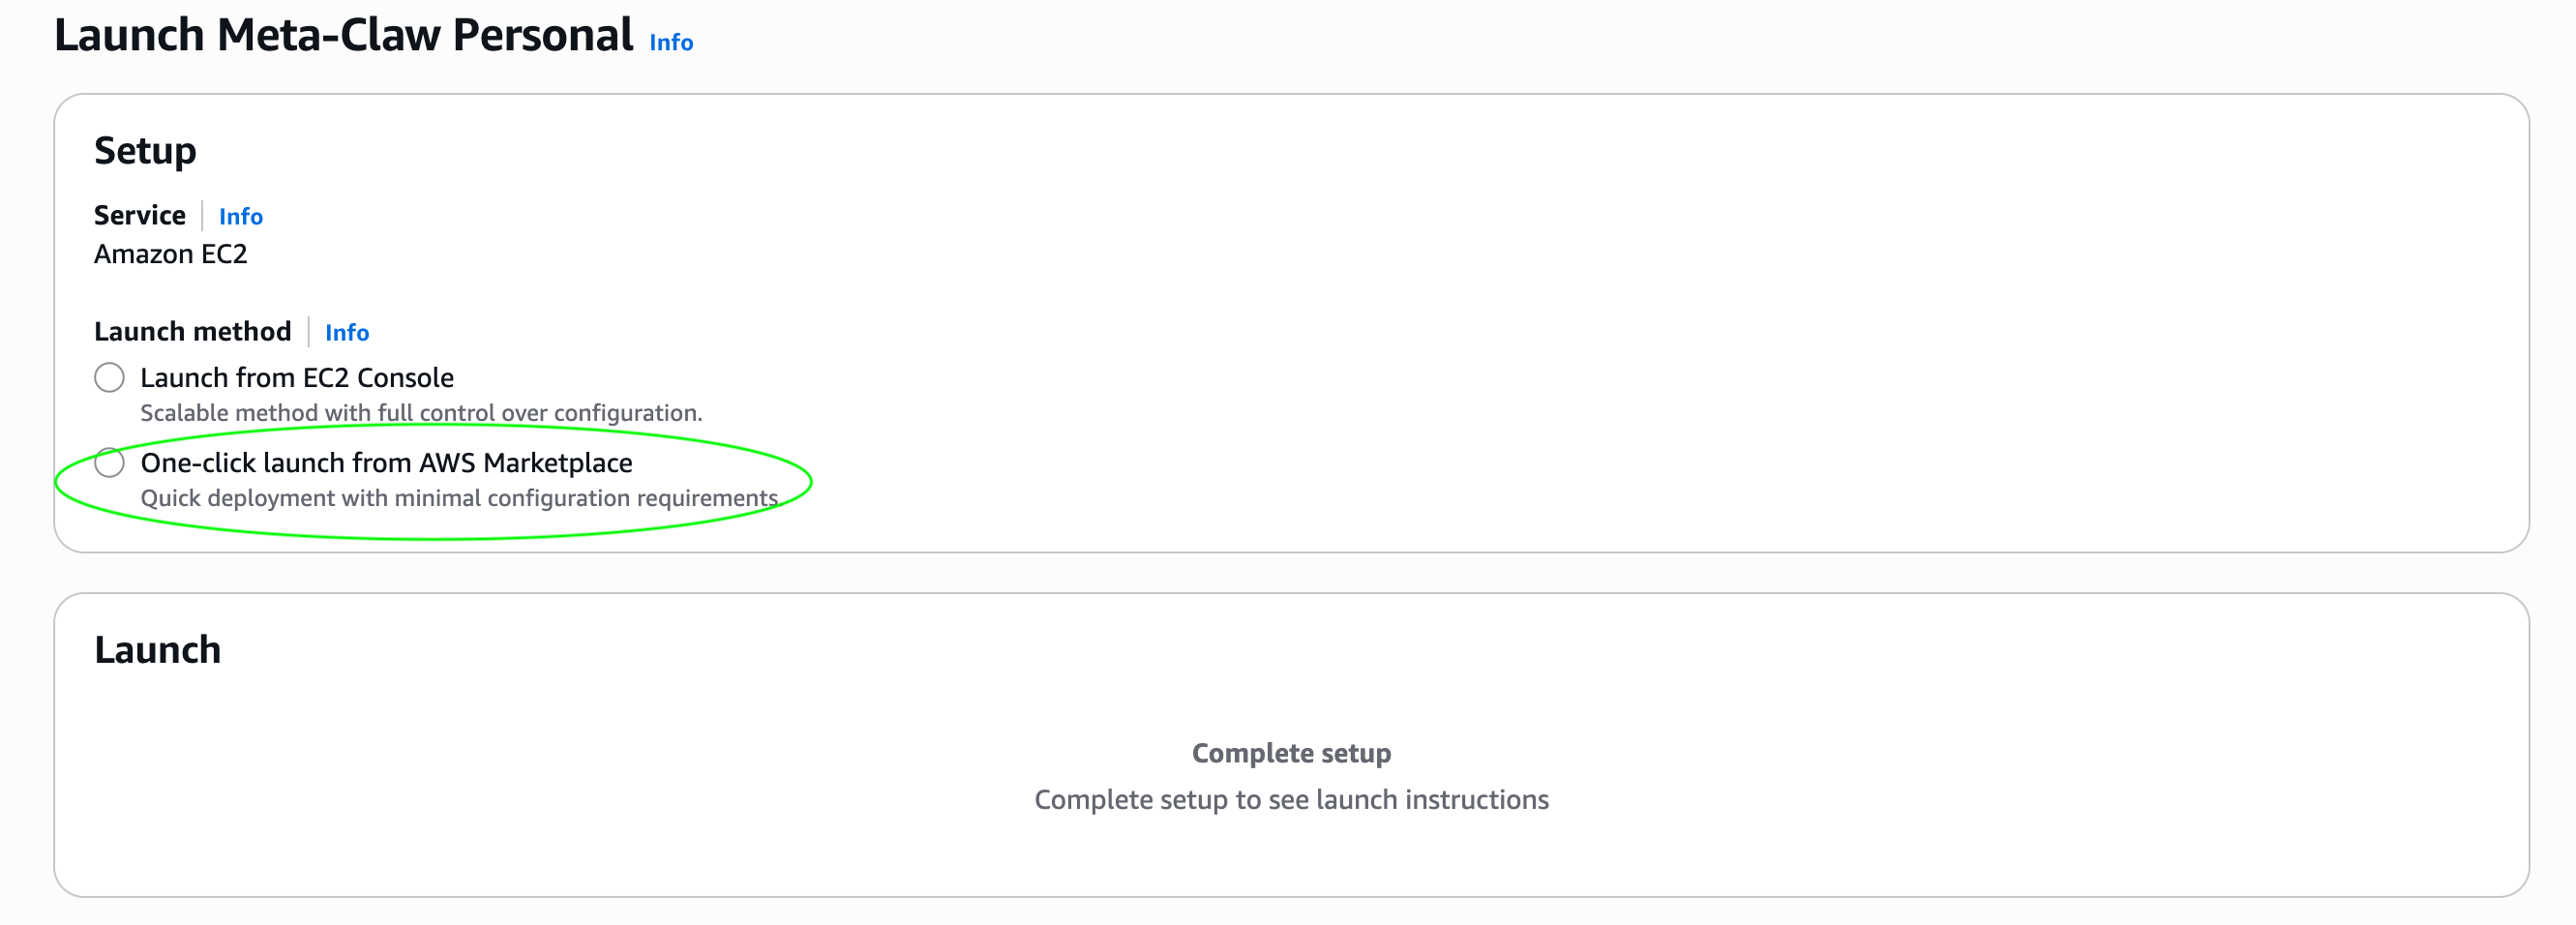
Launch Setup
Select One-click launch from AWS Marketplace. You can also choose Launch from EC2; the flow is very similar, with the remaining setup completed on the EC2 configuration pages.
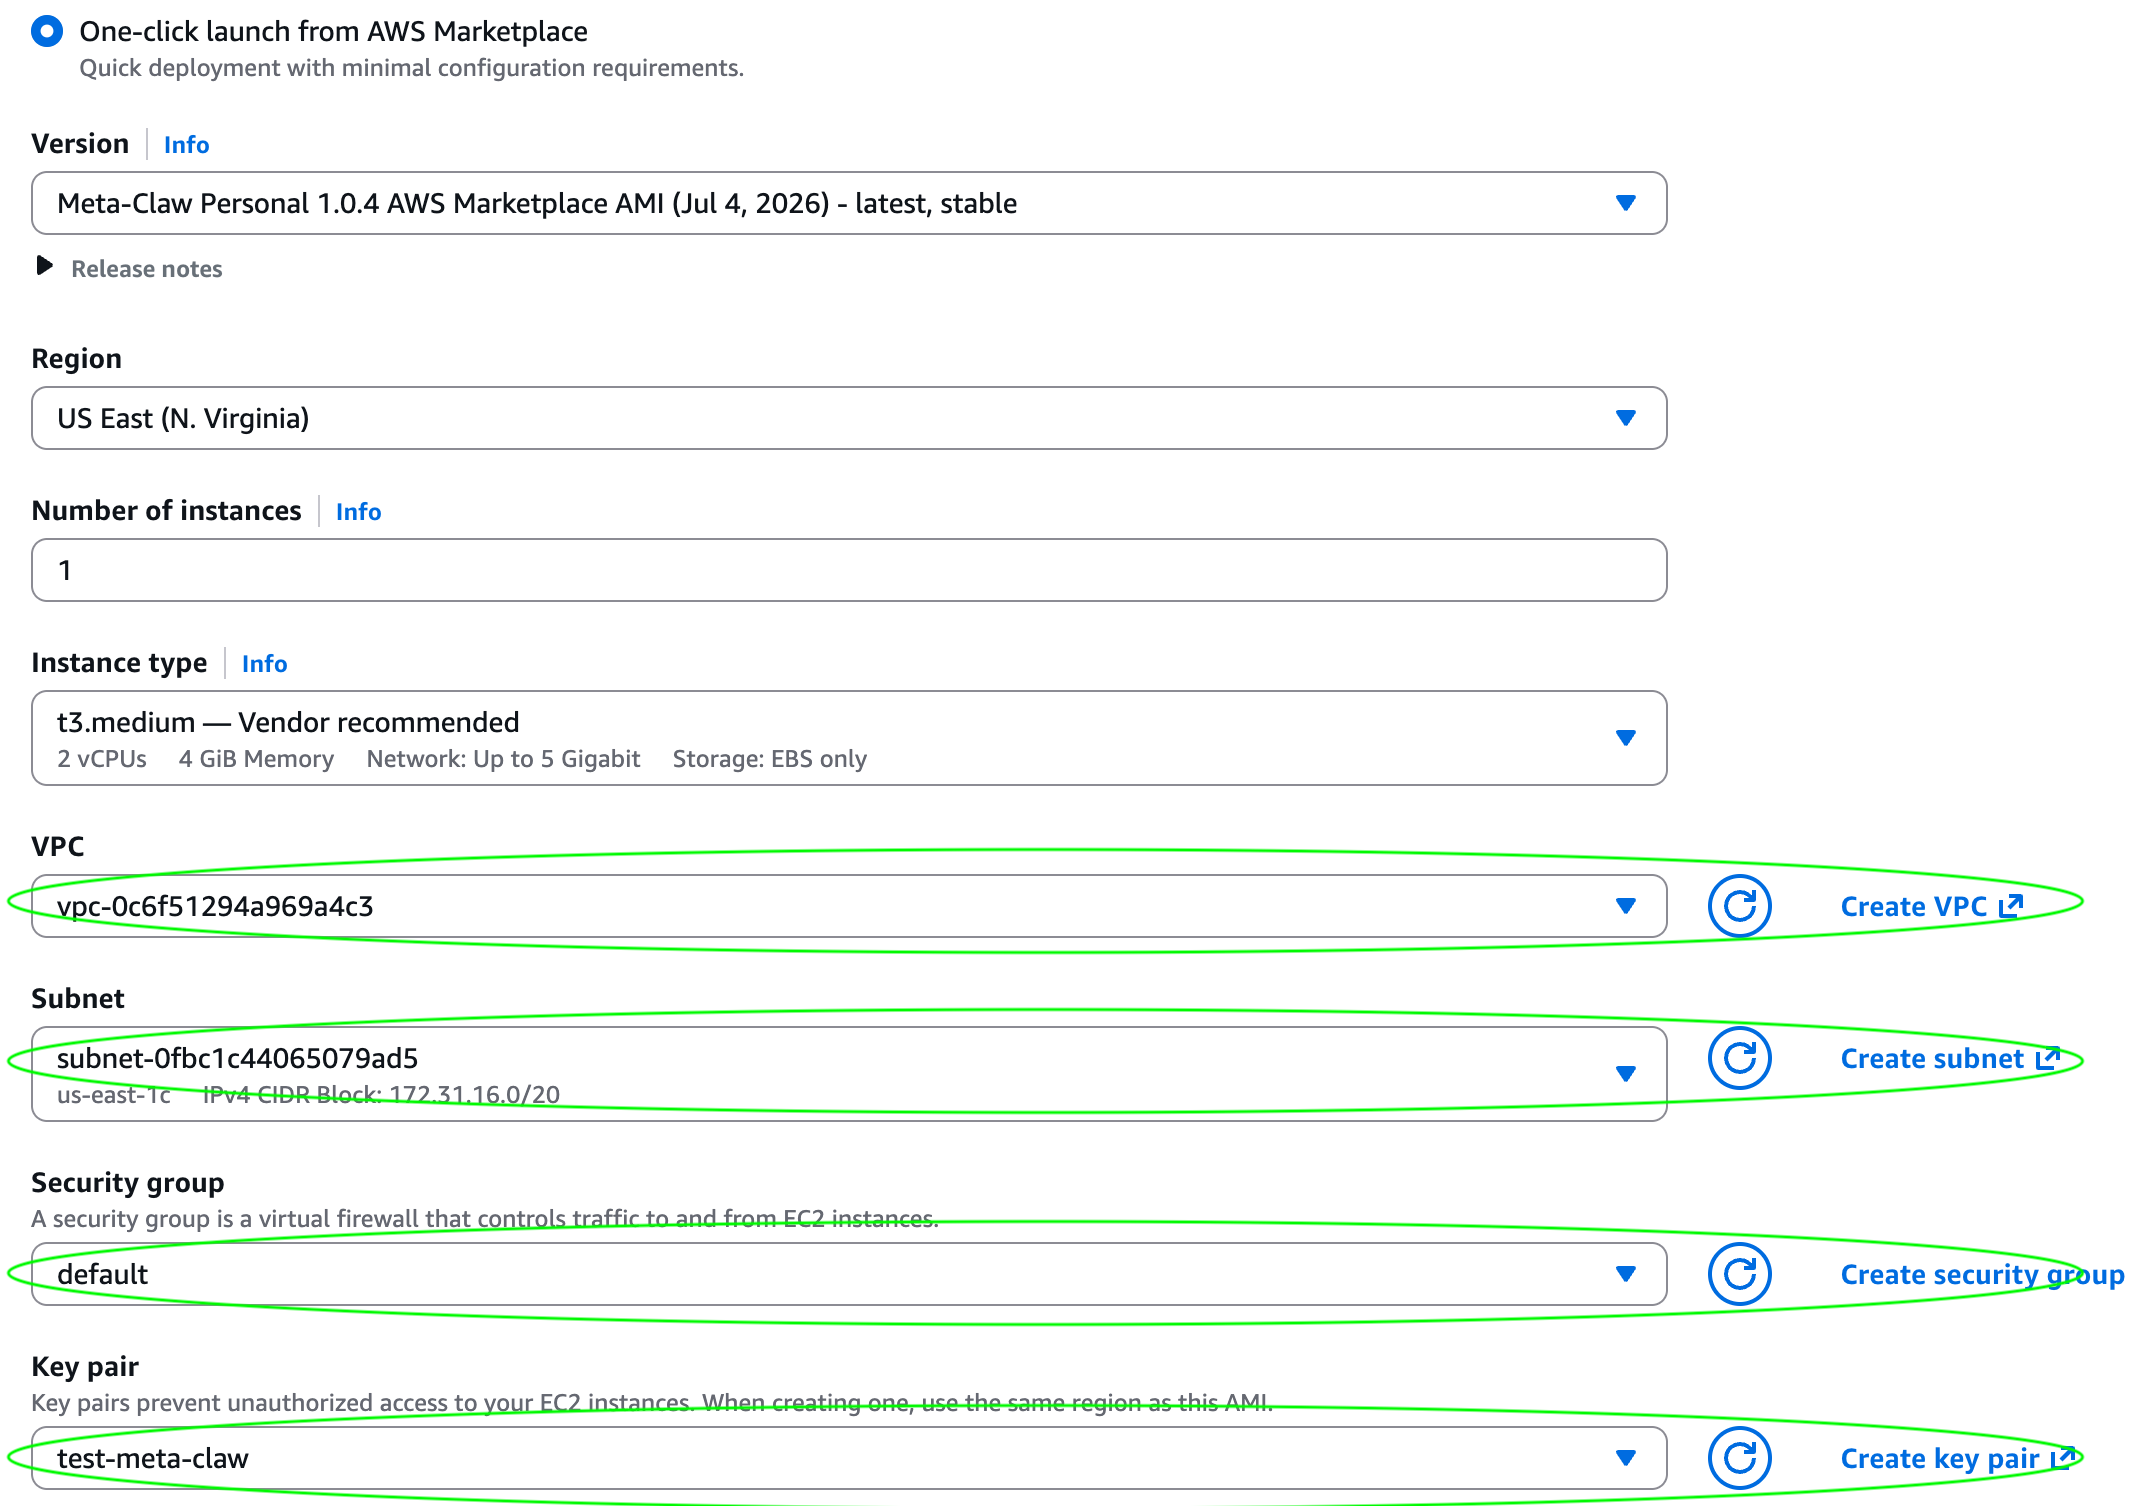
Configuration Defaults
You can keep the default values. If VPC, Subnet, Security group, or Key pair does not have a default option, click the create button on the right to create one.
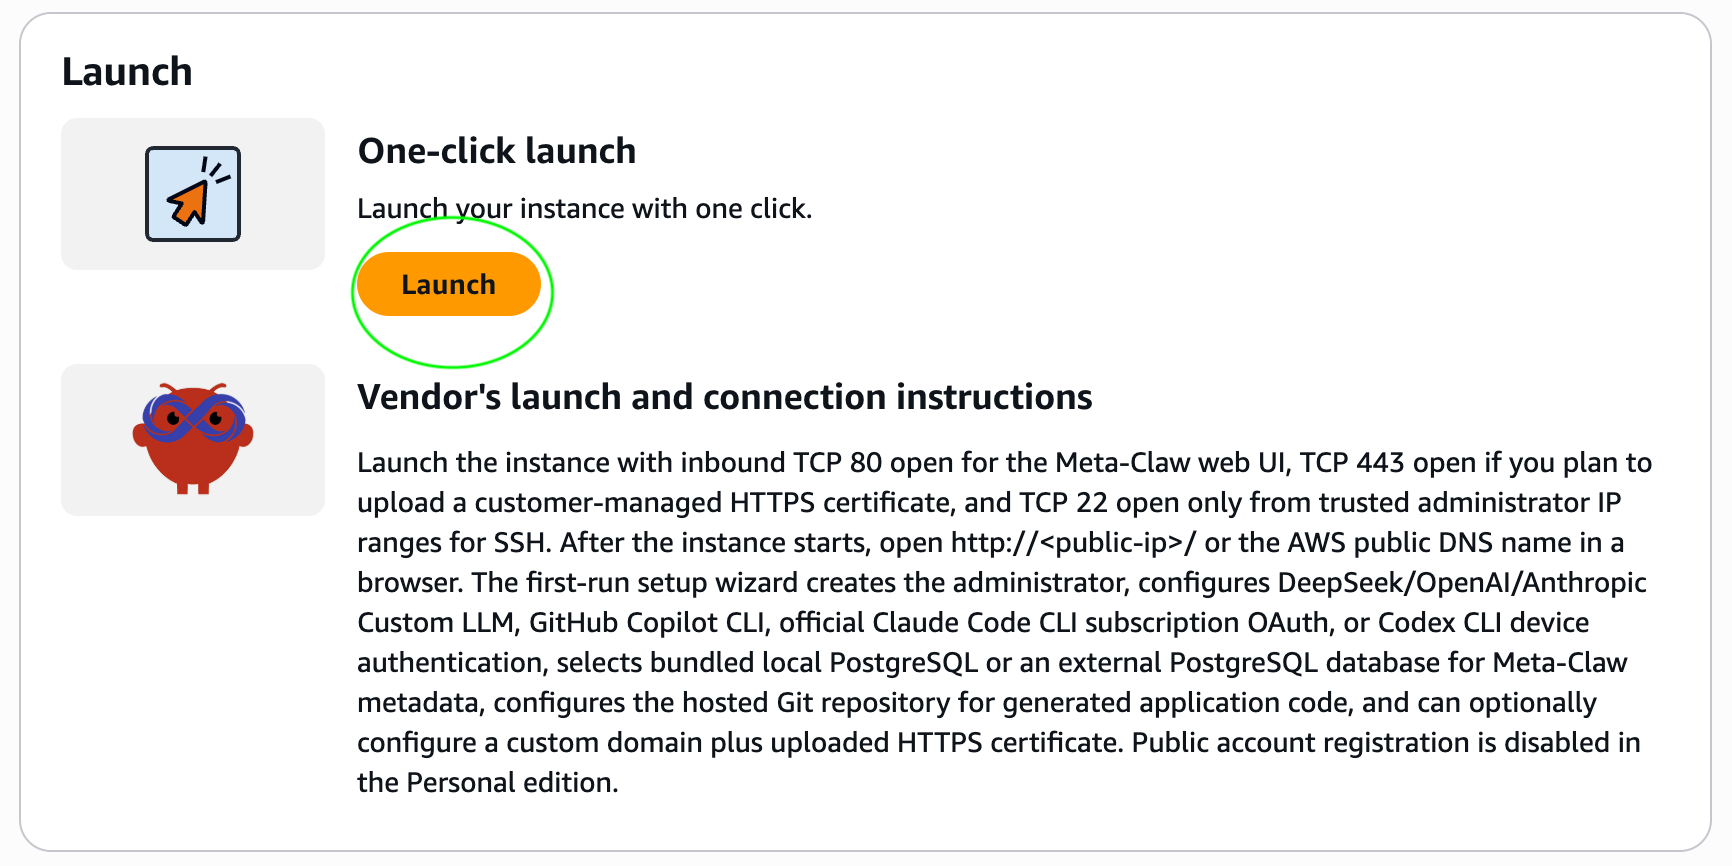
Final Launch
Now click Launch. In a few minutes, you will have a running Meta-Claw service.
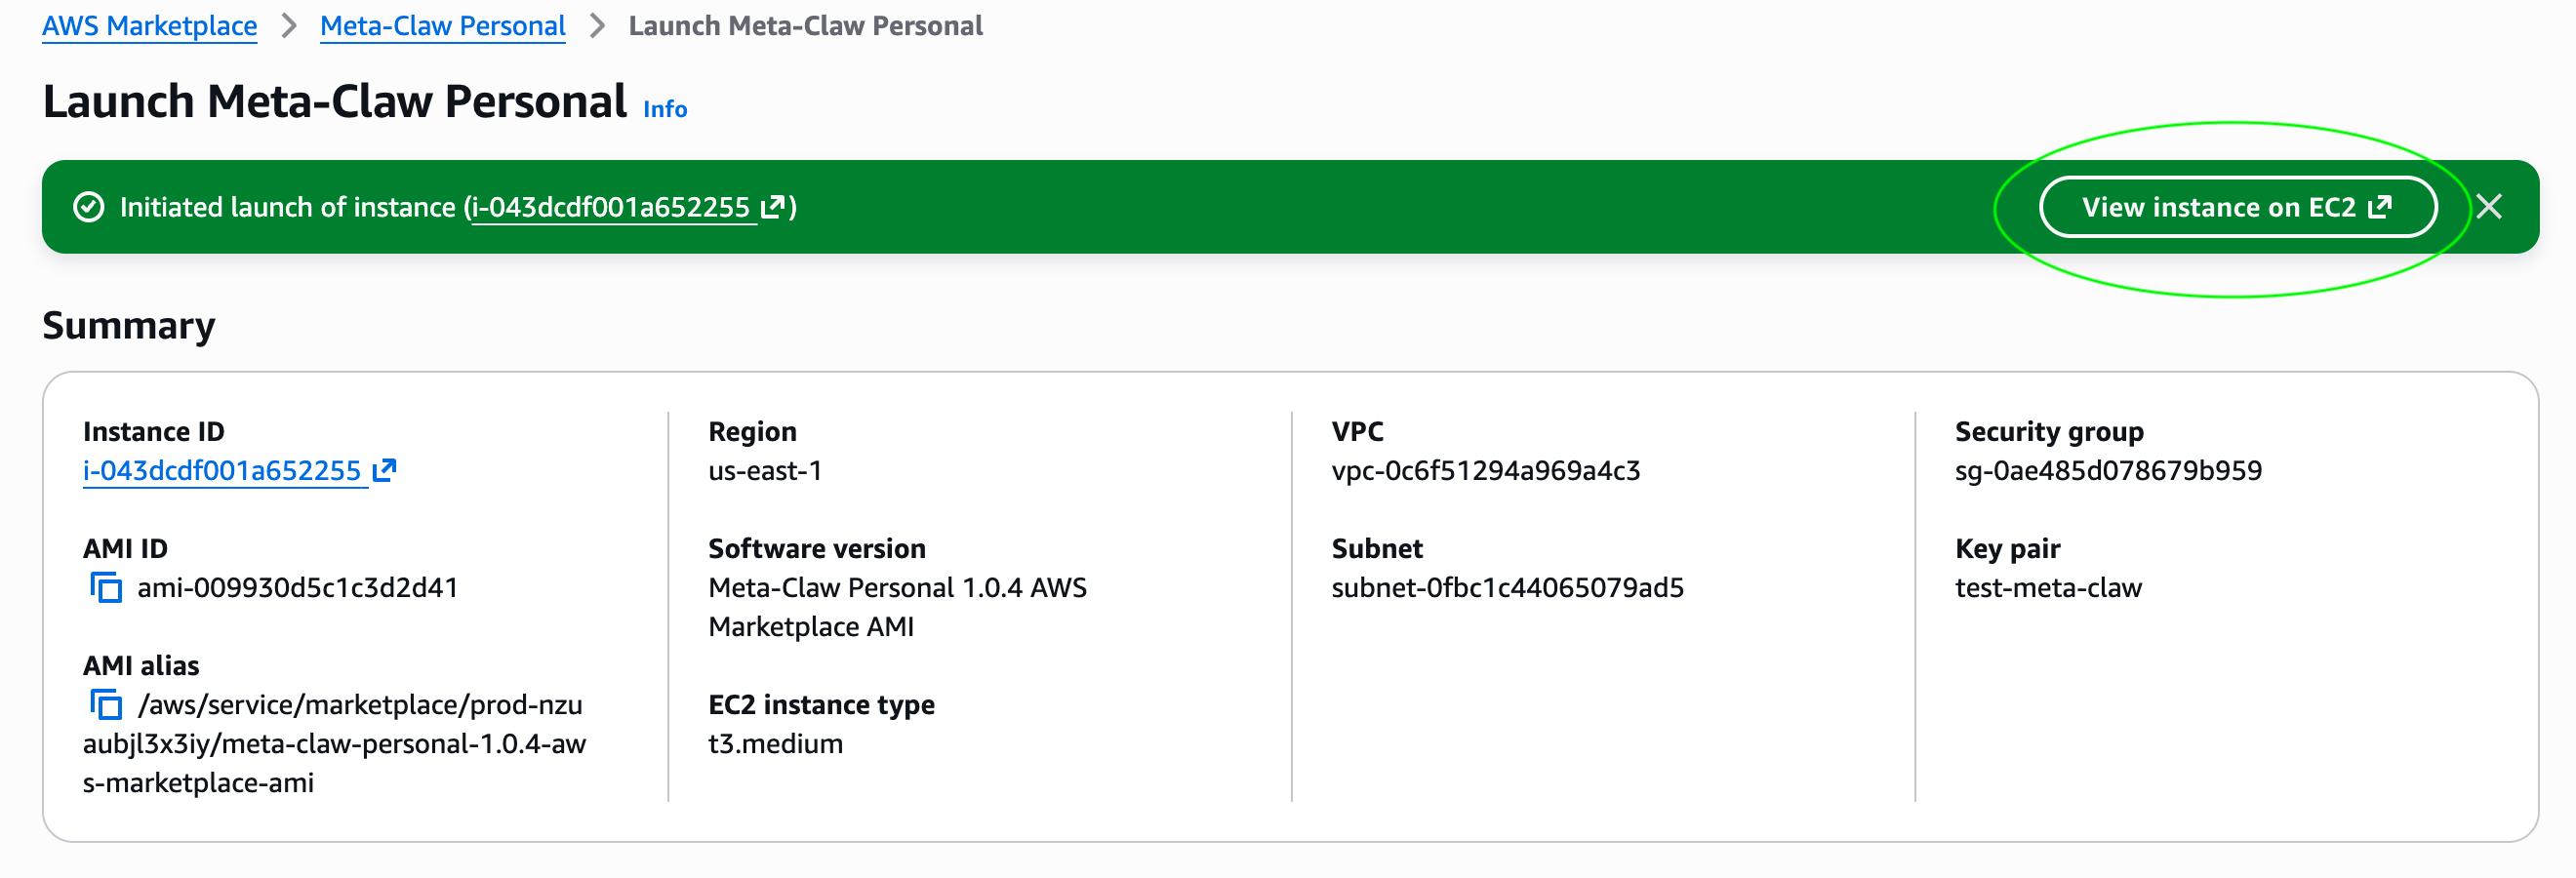
EC2 Instance
Next you can click the View instance.
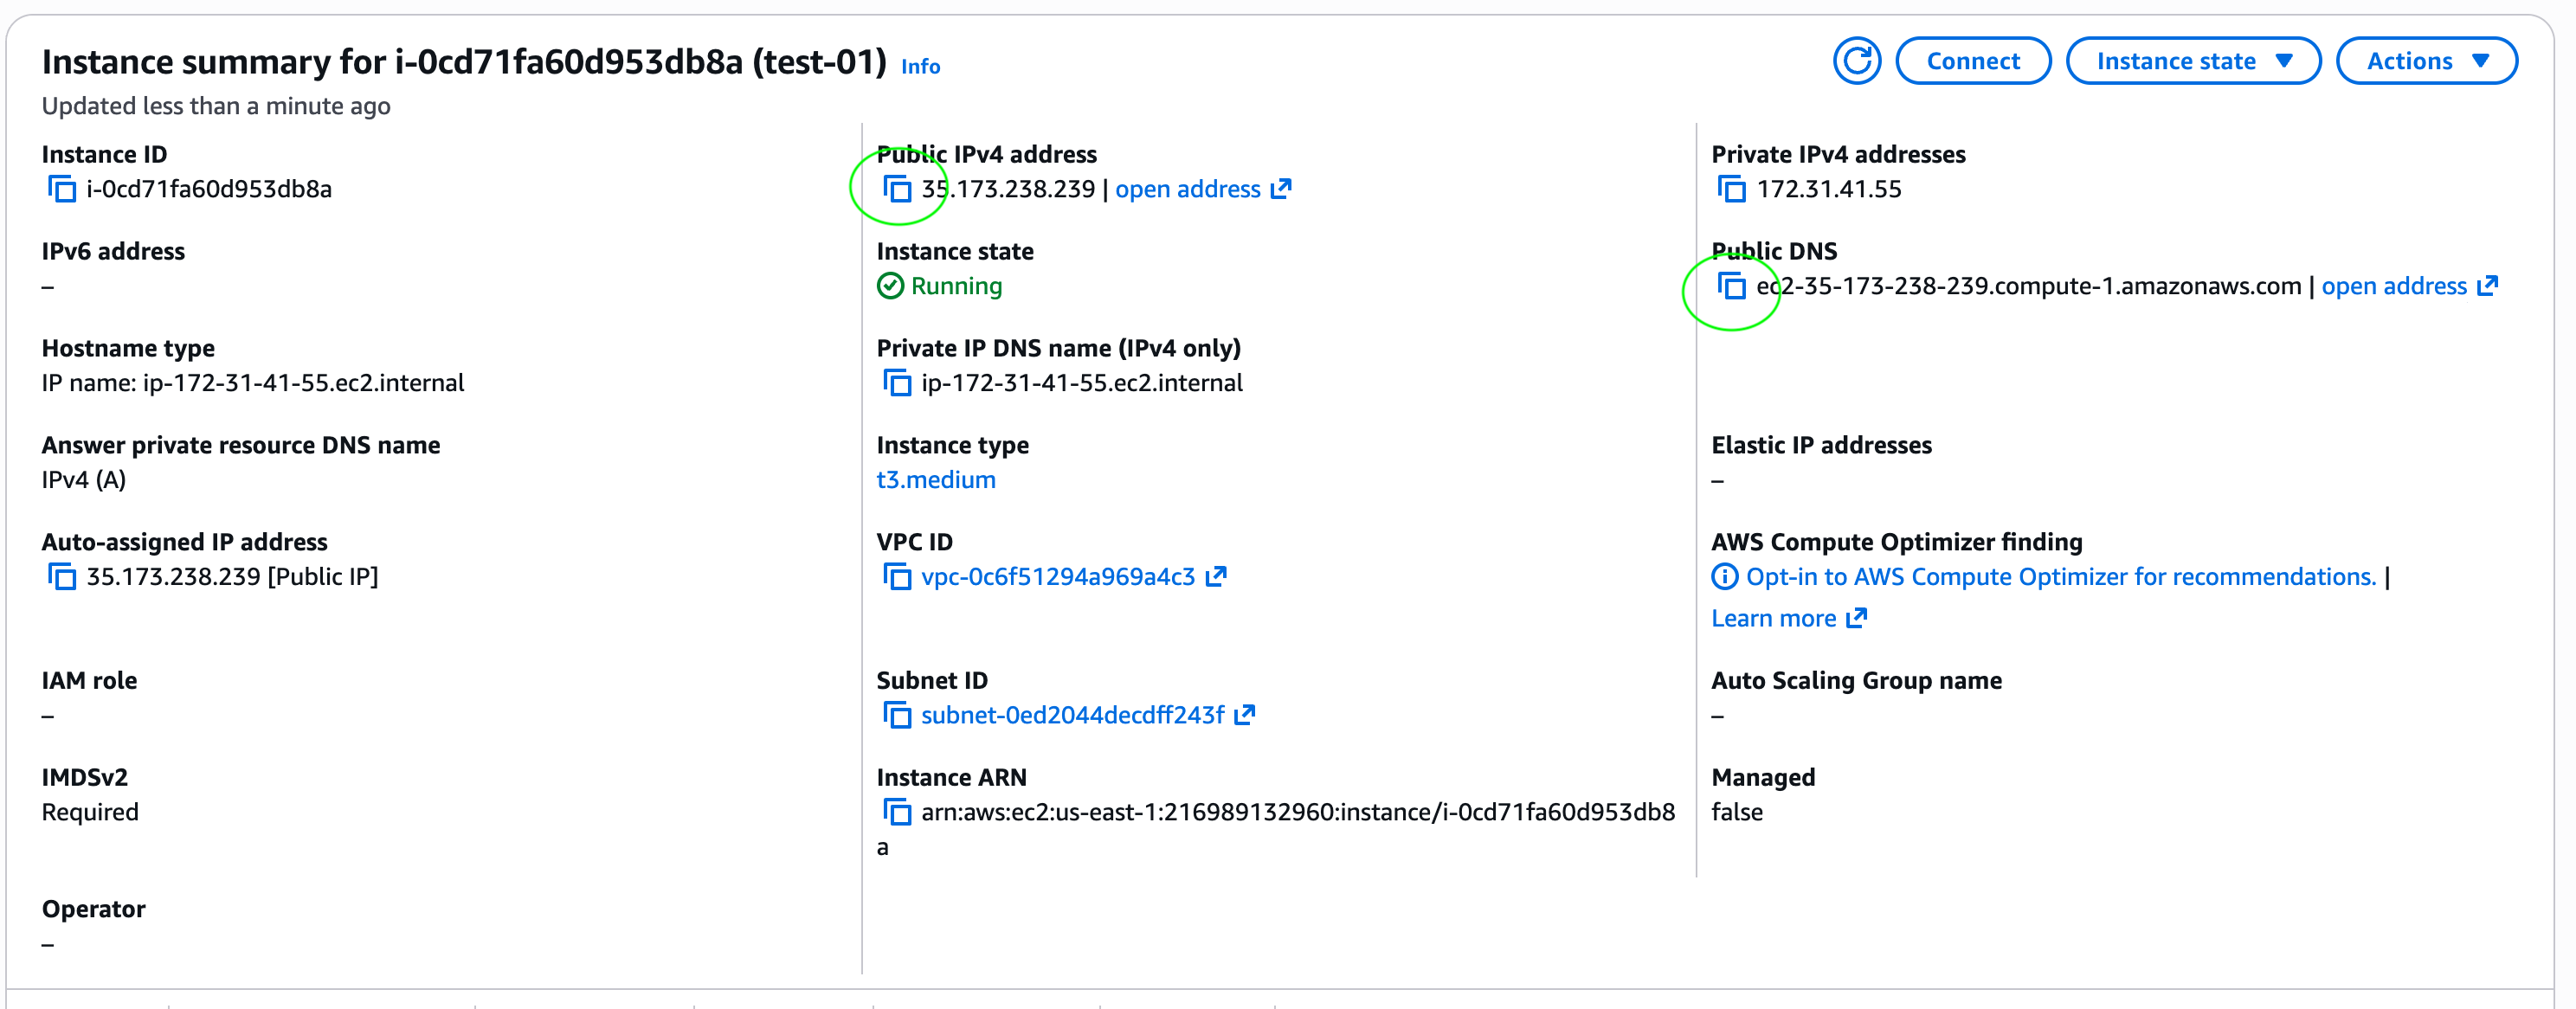
Instance Address
Please don't click "open address." Instead, copy either the IP address or public DNS address and paste it directly into your browser address bar.
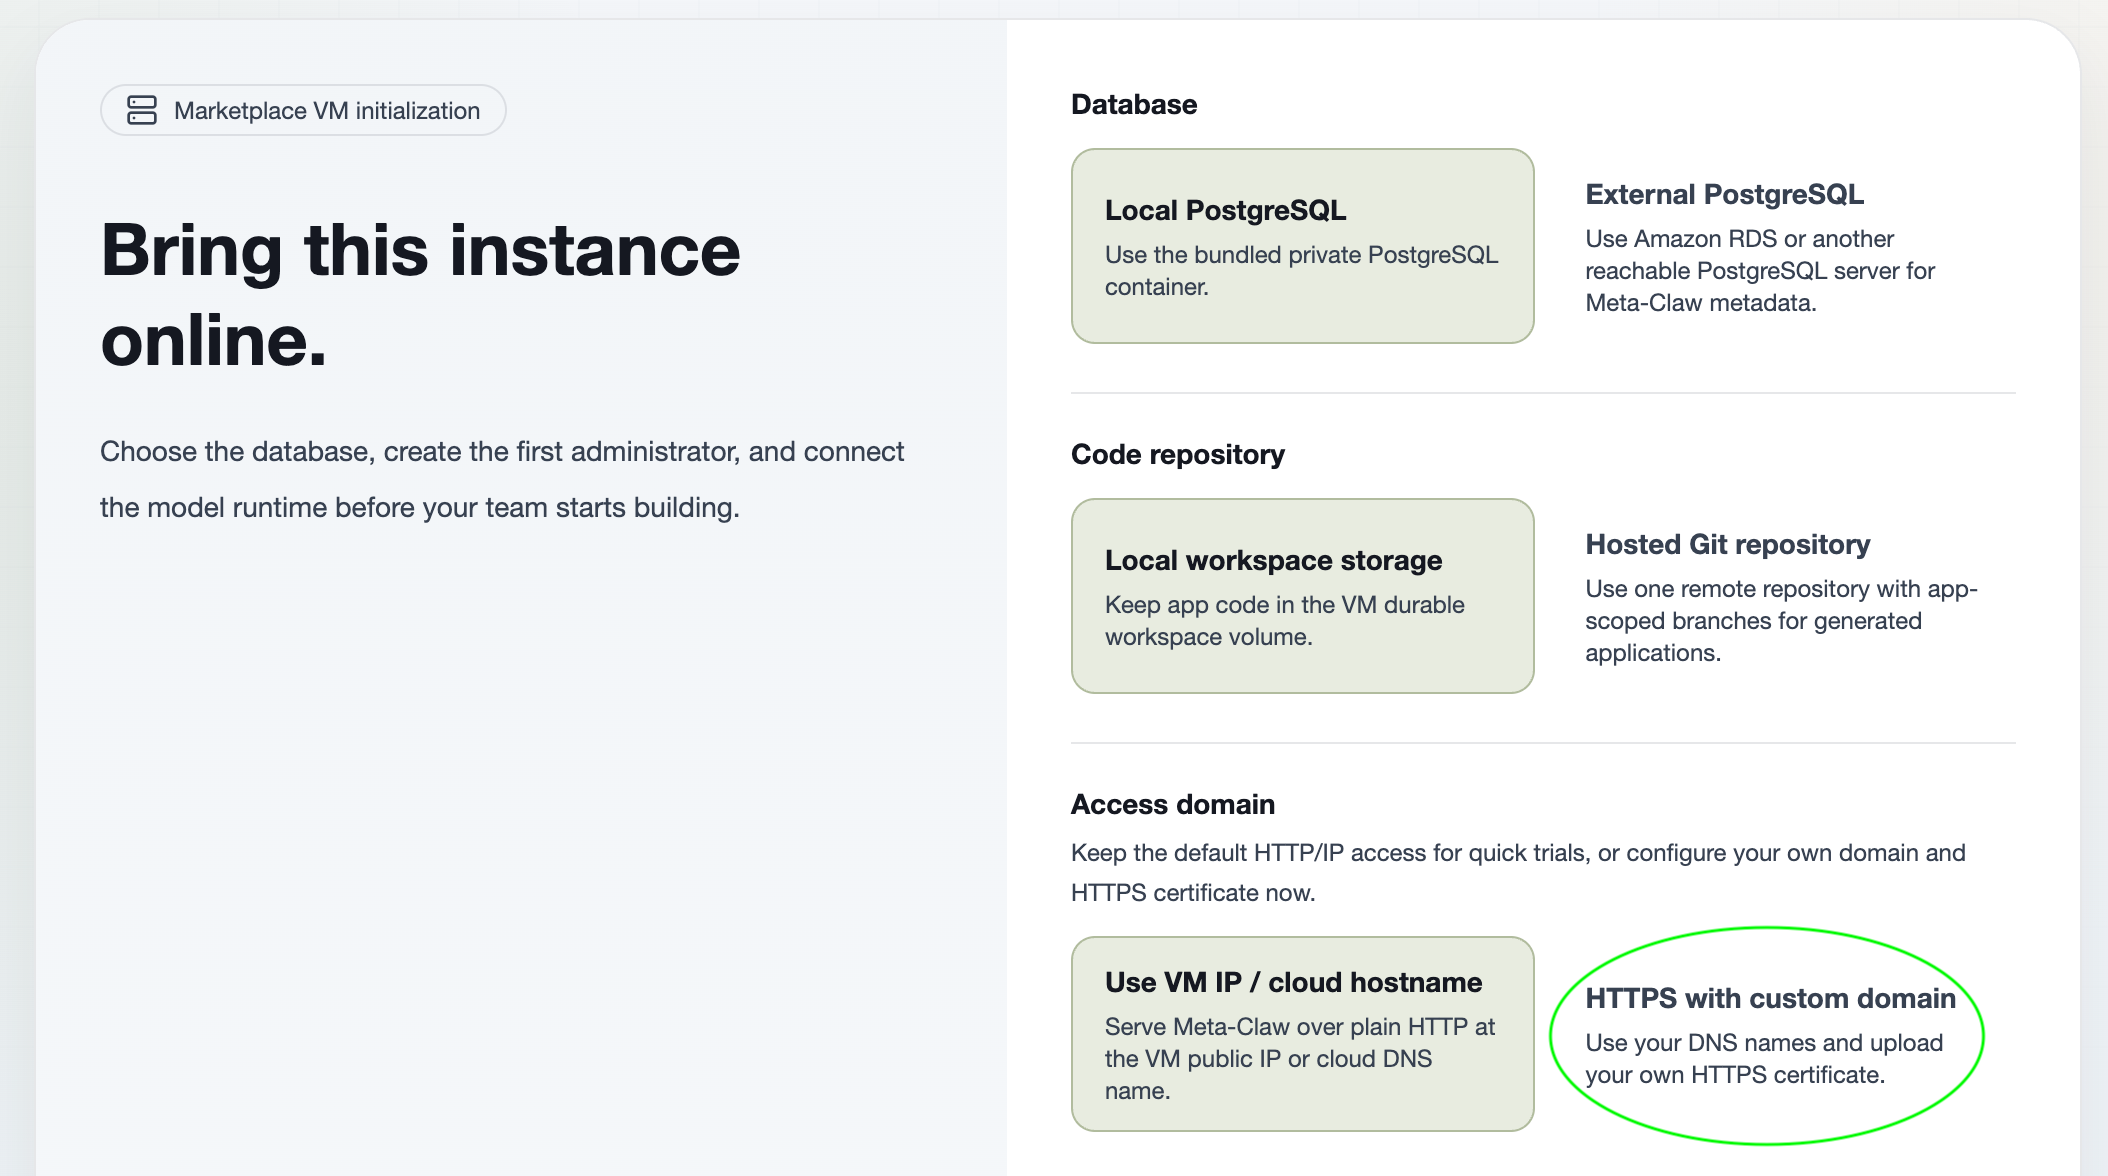
Service Configuration
Hooray! Now we have Meta-Claw running, and it is time to do some configuration. We recommend keeping the first few configs unless you know what you are doing. For example, if you want to connect your service with HTTPS, click HTTPS with custom domain, where you will be able to set your HTTPS certificate.
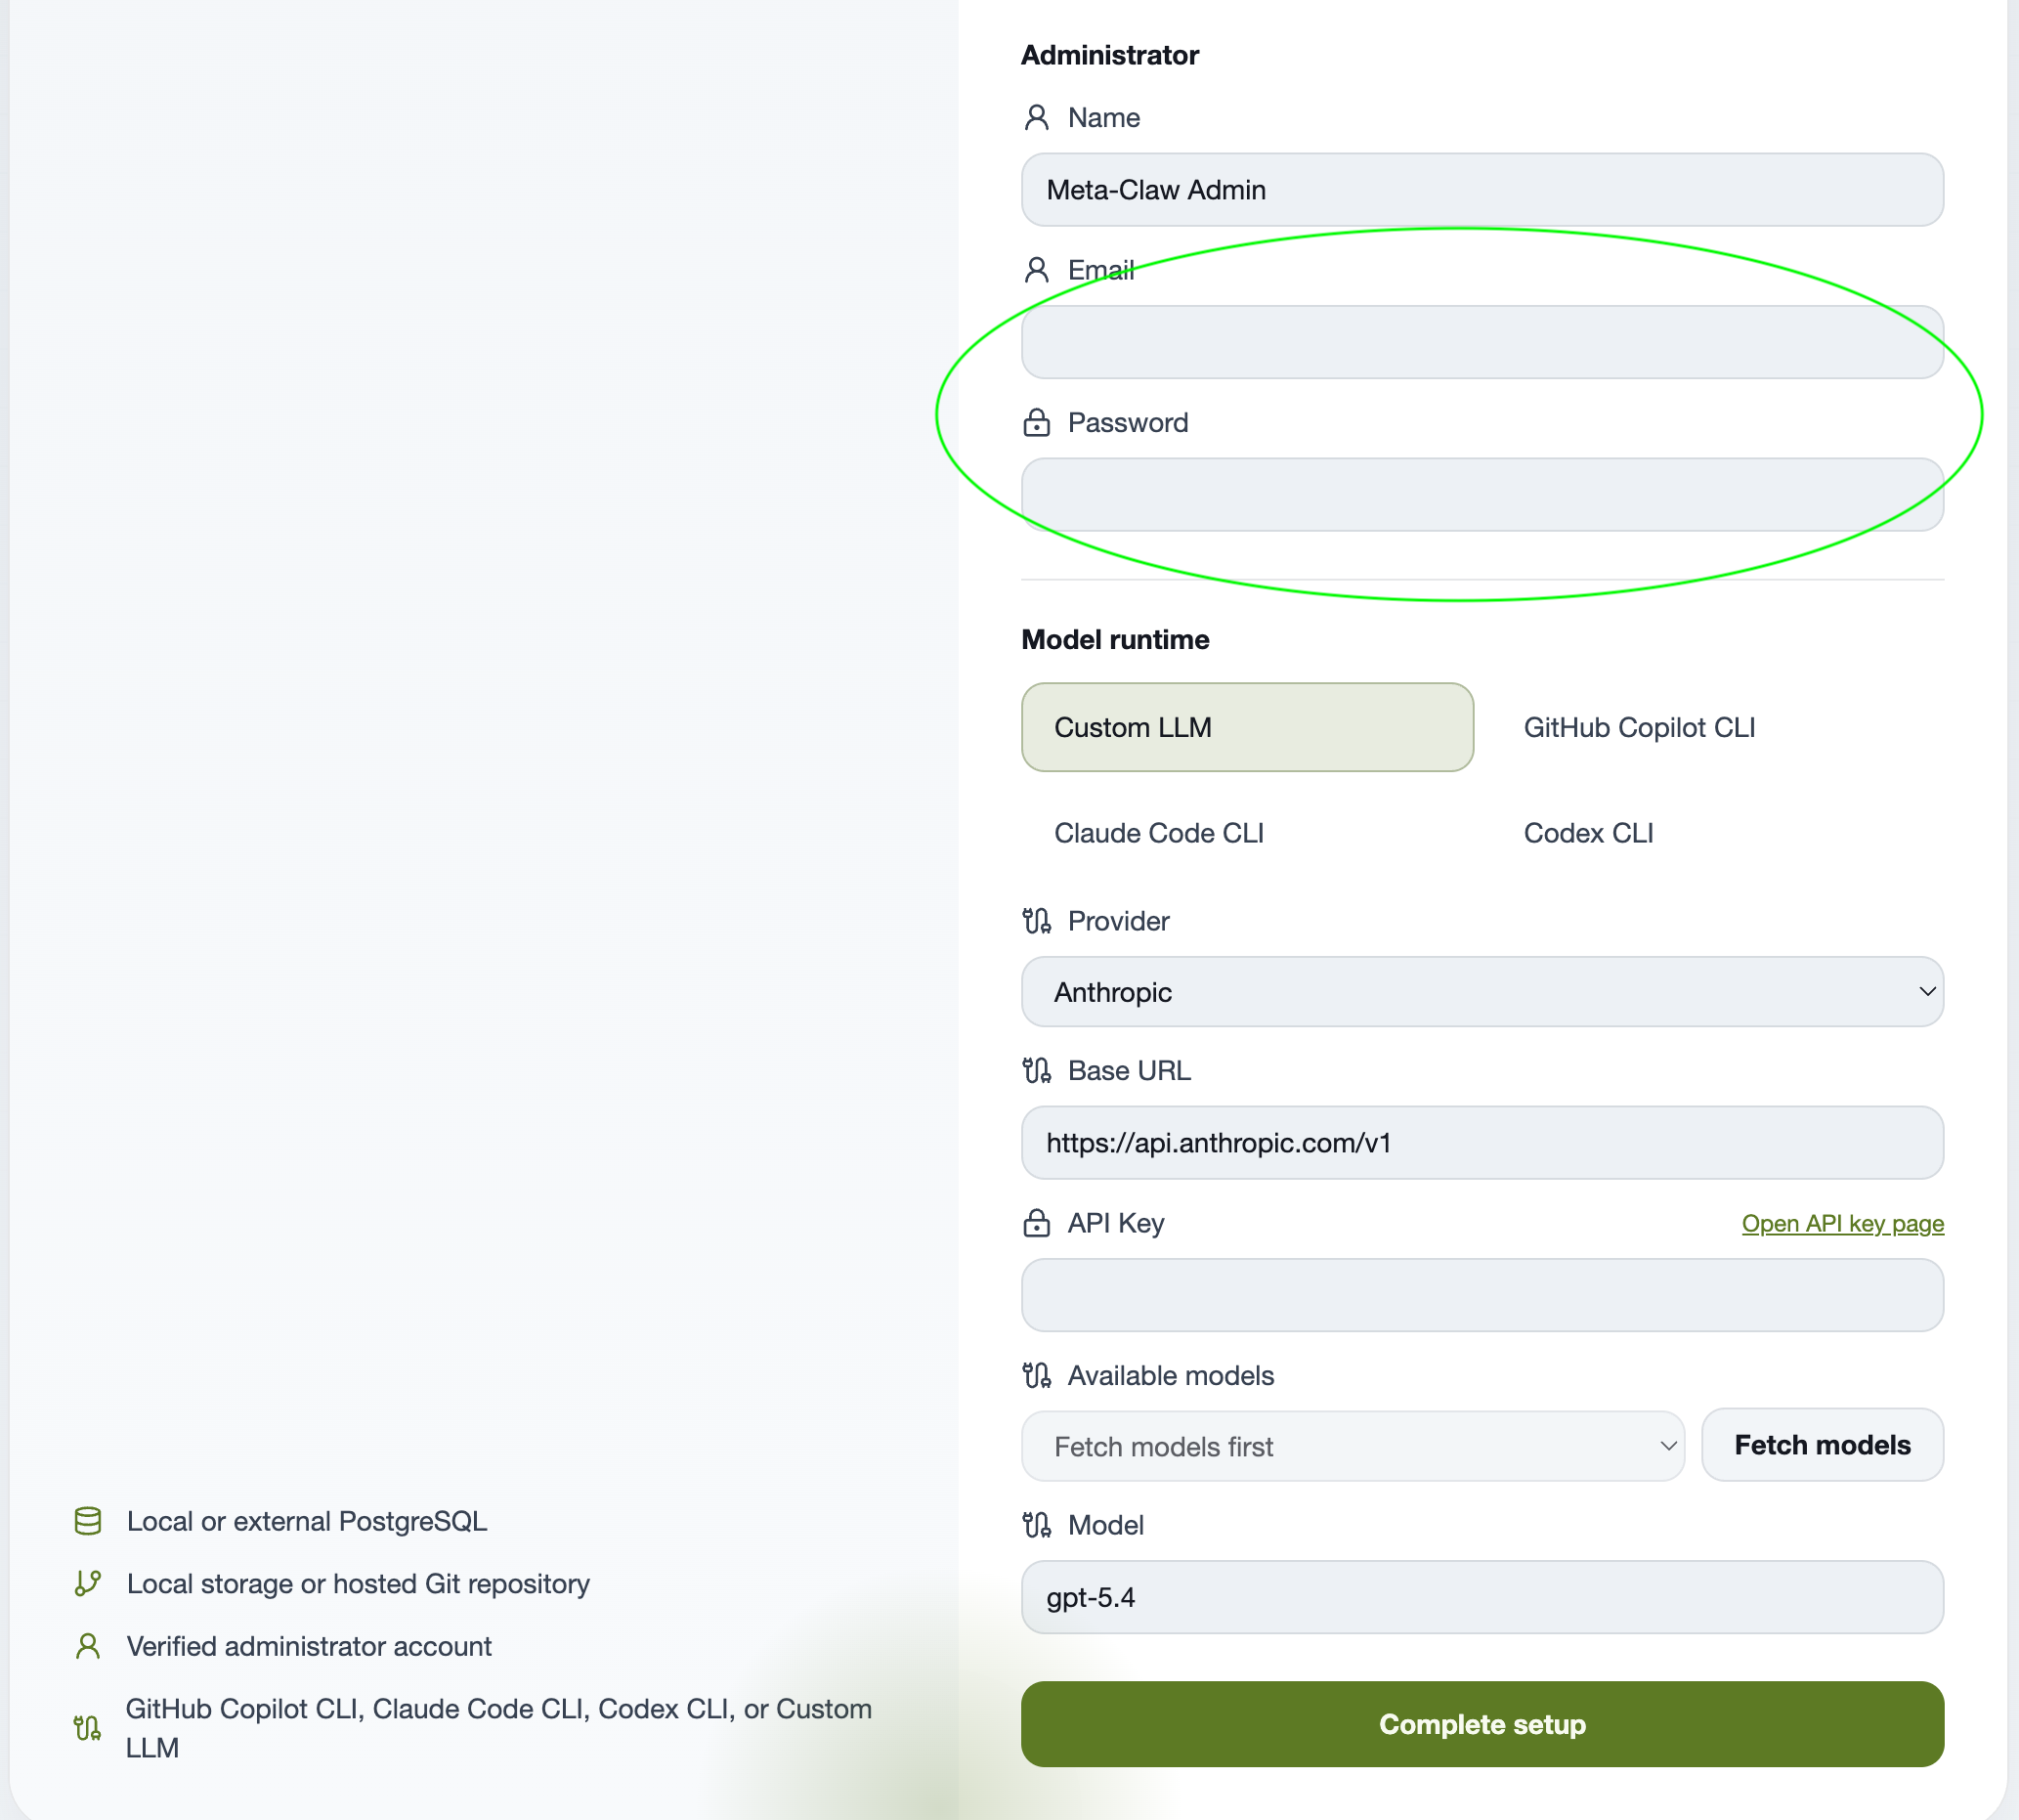
Administrator Account
Next, the config part is the most important, so I will slow down. First, in the Administrator section, provide your email and password. You will be able to use this information to log in to this Meta-Claw service later.
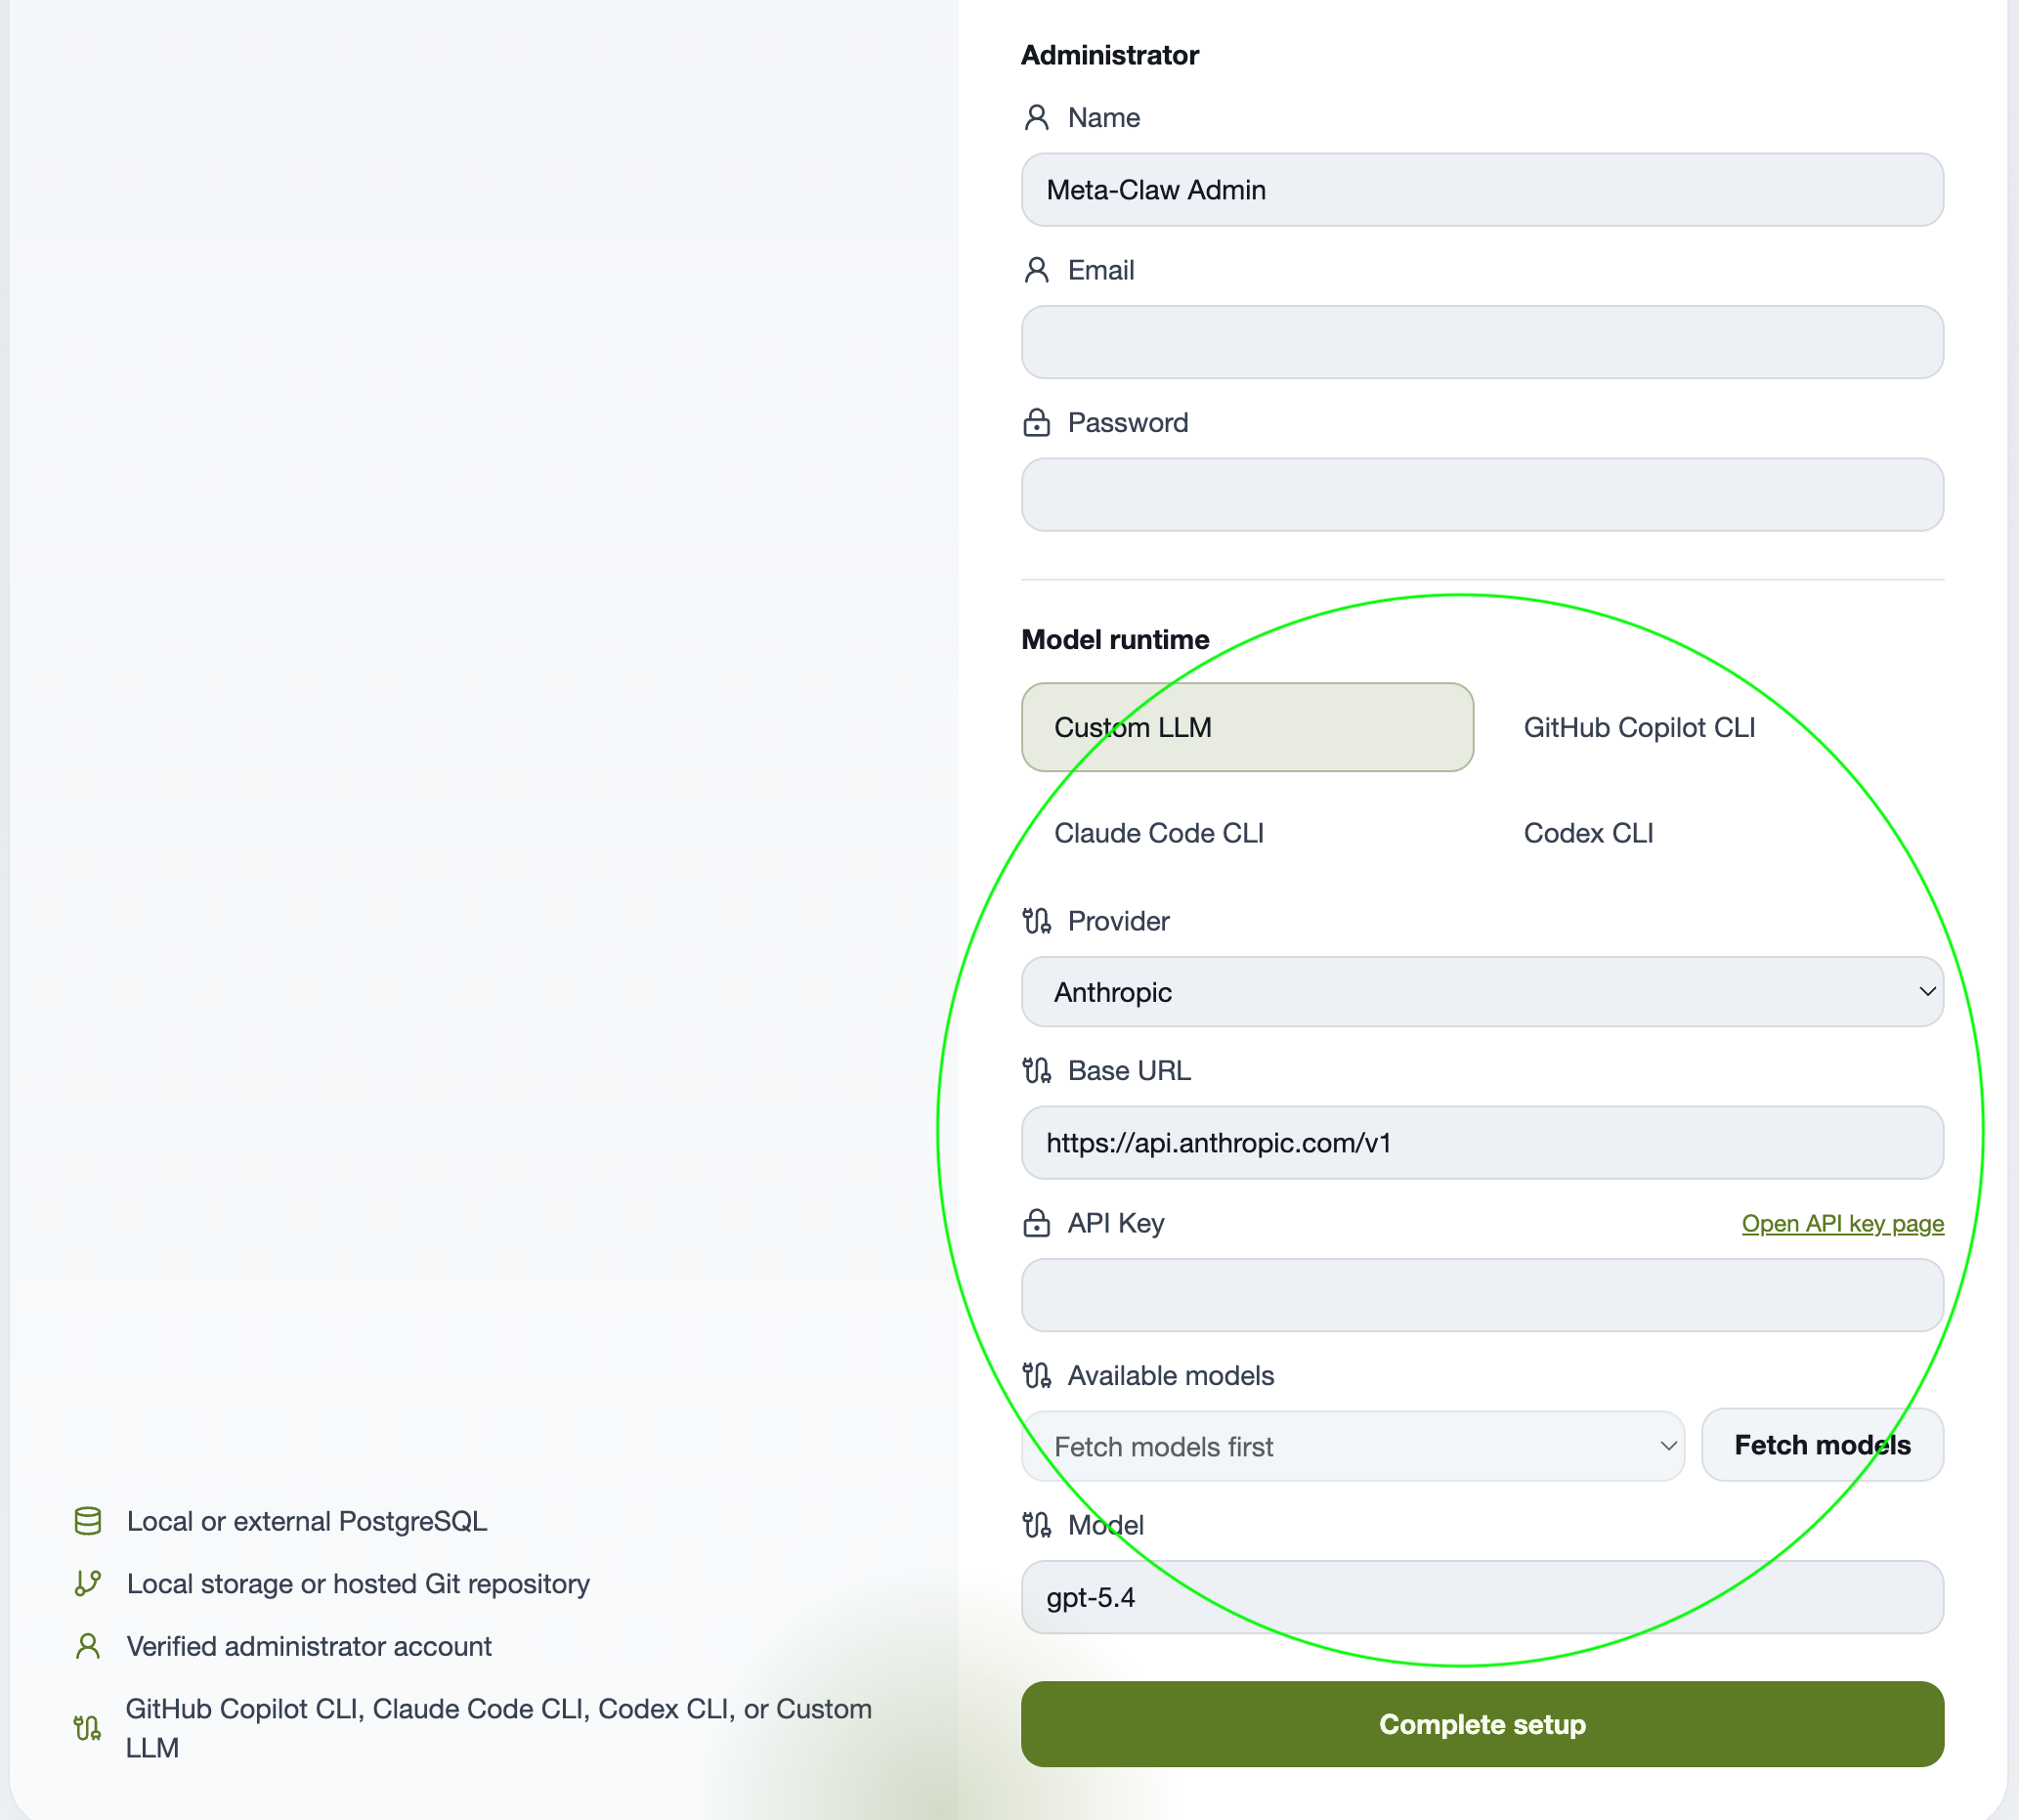
Model Runtime
The last piece is to configure your own LLM service. This is the critical piece where you fully control your own AI service and data security. You can choose to use an API from one of the listed service providers, or you can also use CLI mode to authenticate.
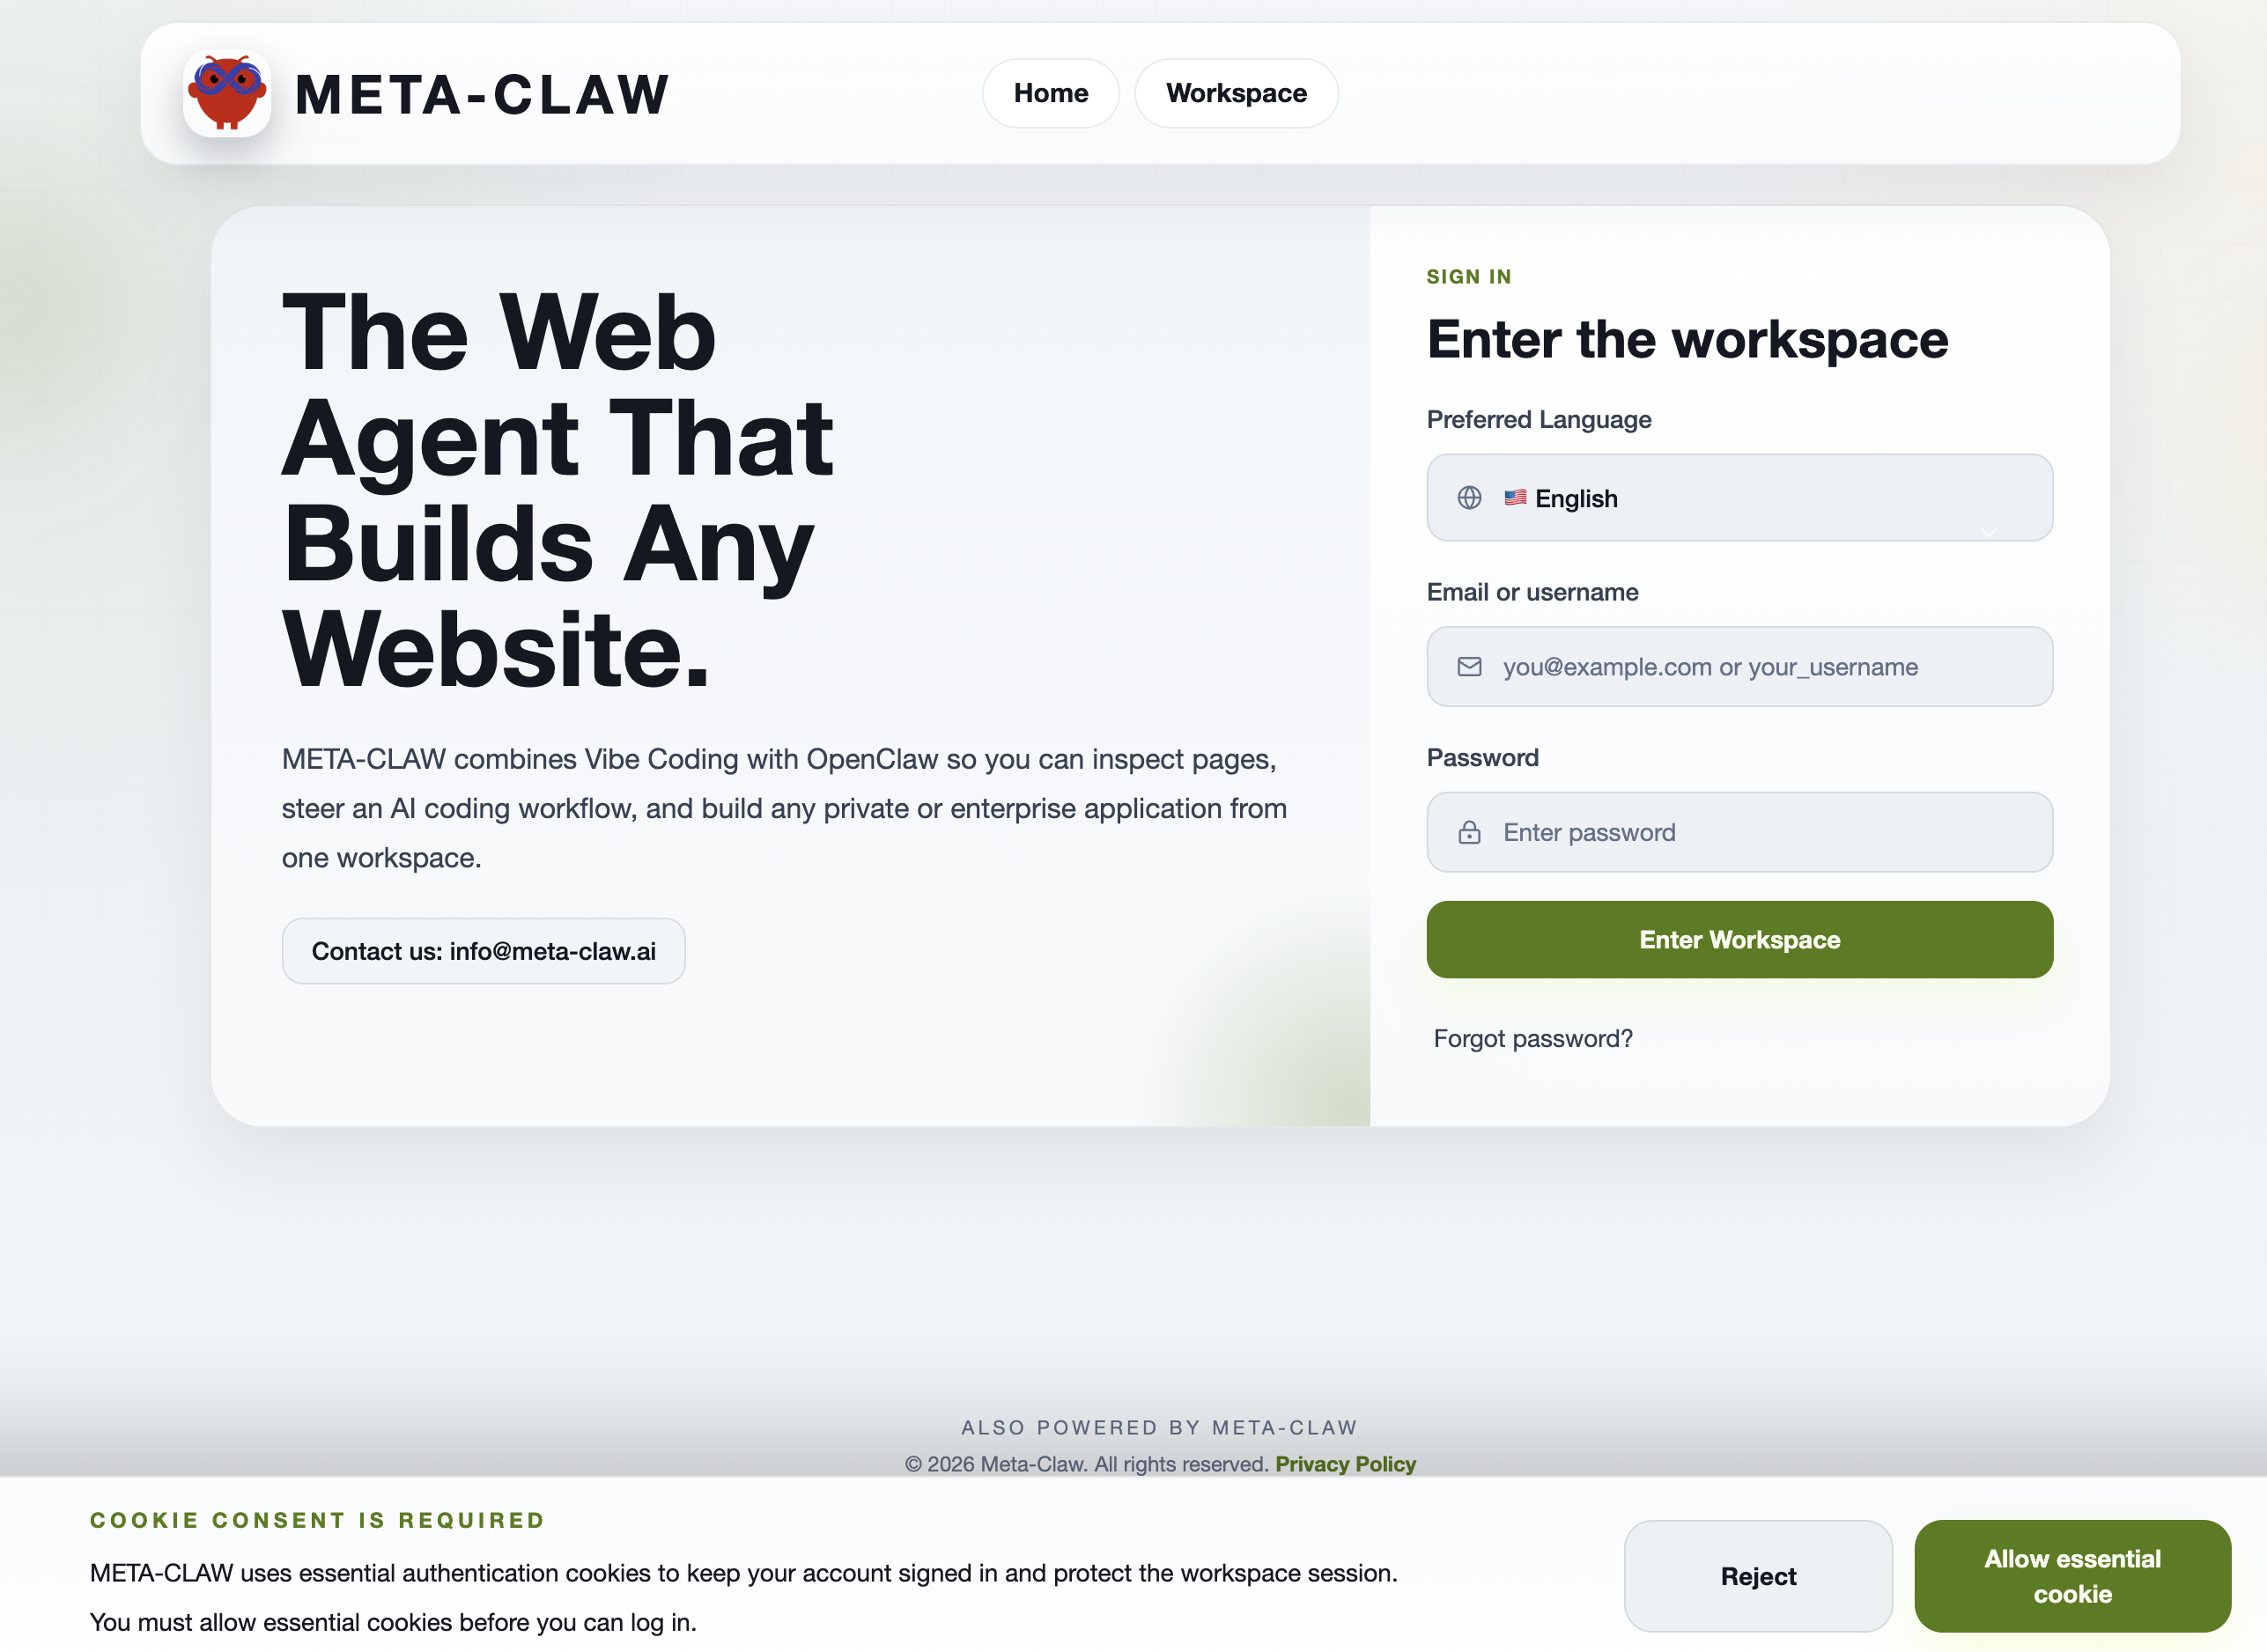
Complete Setup
Now complete your setup by clicking "Complete setup," and wait a few seconds. You will see the Meta-Claw login page. Don't forget to allow the essential cookie before you log in.